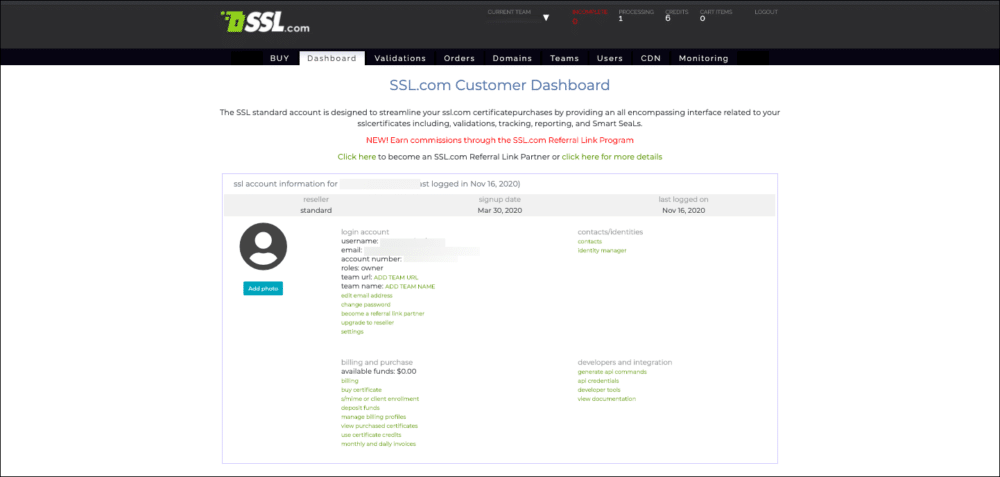
This guide will help you invite users to your Team and also provides a detailed understanding of how to assign roles, manage users, and remove users.
Invite Users
A Team is a logical grouping of users, orders, transactions, validations and site seals. This logical grouping makes managing assets for a organization or department easier. Although each Team can have many users, it always has one user that is the designated Owner of that Team.
The Owner has complete control over this Team and can invite other people to join the Team in defined Roles. At any time, the Owner can add, remove, or change a user’s Role on the team.
Inviting an additional user to your team is a simple process. First, you’ll need to log in to the desired user account:
If you belong to more than one Team, use the “Current Team” drop-down menu to select the desired team:
Once you have selected your Team, go to the ‘Users’ tab and click the ‘Invite User’ button:
Specify the email address that will be receiving the Team invitation. Use this form to change roles across multiple Teams (if necessary) or specify an individual Team. From here, new users can be added and assigned Roles:
After you’ve assigned roles to a new team member, click the ‘Invite’ button to send the team invitation. A banner will notify you that an invitation email has been sent:
The invited user will also receive an automated message.
Assign Roles
A Role restricts a User to specific functions. Roles that have been assigned to a User can be changed at a later date.
The Roles that may be assigned are:
- Account Administrator – A Role giving all permissions in a Team, except the ability to remove/change an Owner.
- Billing – A Role allowing management of financial aspects of the Team, such as transactions, billing profiles, and refunds.
- Installer – A Role for users tasked with downloading and installing certificates.
- Users Manager – the default membership Role assigned to the initial user of a Team and has absolute control and authority over their Team.
- Validations – A Role allowing certificate validation tasks, including uploading documents and any other validation steps.
Manage Users
To update a user’s Roles, navigate to the ‘Users’ tab and select the User. Click the magnifying glass and, under ‘manage account’, click on ‘change roles’:
From the ‘change roles’ page the Owner has the ability to overwrite, add, and remove a user’s roles. If the user is a member of multiple Teams that you control, then you may list them in ‘Team(s)’ field to change roles across multiple teams. For this demo, we’ll assume the User is a member of only one of your Teams.
First, click the drop-down arrow, and specify the ‘change type’. The options are:
- Add – Assigns the selected new Role(s) to a user, while maintaining the existing Role(s).
- Overwrite – Assigns the selected Role(s) as a replacement to any existing Role(s).
- Remove – Removes the selected Role(s), any other existing Role(s) will remain.
Next, you may change the Role of the user, click the box next to the desired role(s). Selecting Account_admin will deselect any other Roles, and vice-versa.
Remove Users
To completely remove a user go to the ‘Users’ tab and find the user. Next, click the magnifying glass and click on ‘remove user from this account’.
WARNING: There is no confirmation dialog when removing a user.
Once a user is removed, a message appears at the top of your screen (similar to message that appears when changing roles) and both the Team Owner and User each receive an email notification of the access change.
