
Time needed: 45 minutes
These instructions will show you how to install an SSL/TLS certificate and private key in a Microsoft Azure App Service web app and bind it to a custom domain. If you don’t have a certificate yet, please read Ordering and Retrieving SSL/TLS Certificates for full instructions on buying a certificate from SSL.com.
- Generate PKCS#12 file.
Before you upload your certificate and private key to your Azure web app, you’ll need to combine them into a password-protected PKCS#12 file (also commonly known as a PFX or P12 file). You can generate this file with either or IIS or OpenSSL:
• Generate a PFX/P12 File for Azure with Windows
• Create a .pfx/.p12 Certificate File Using OpenSSL - Open app in Azure.
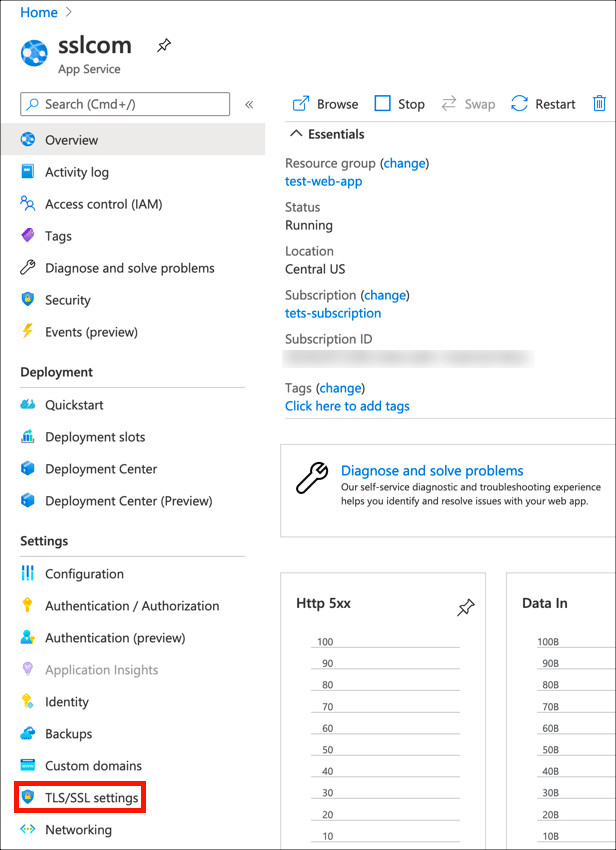
Navigate to your app in the Azure portal.

- Open TLS/SSL settings.
Click TLS/SSL settings in the left sidebar menu.
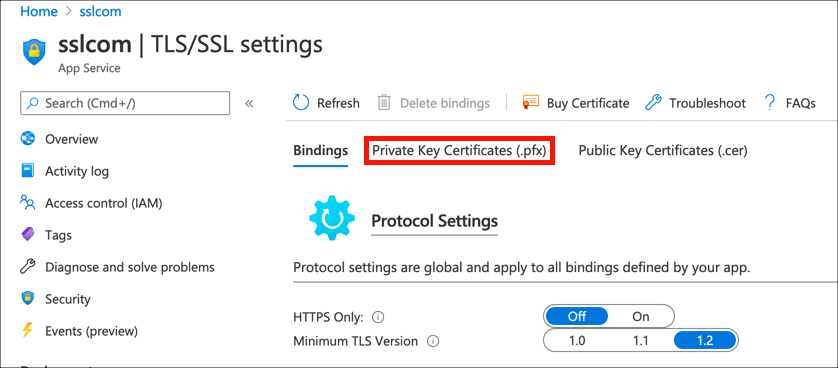
- Click Private Key Certificates (.pfx).
Select the Private Key Certificates (.pfx) tab.
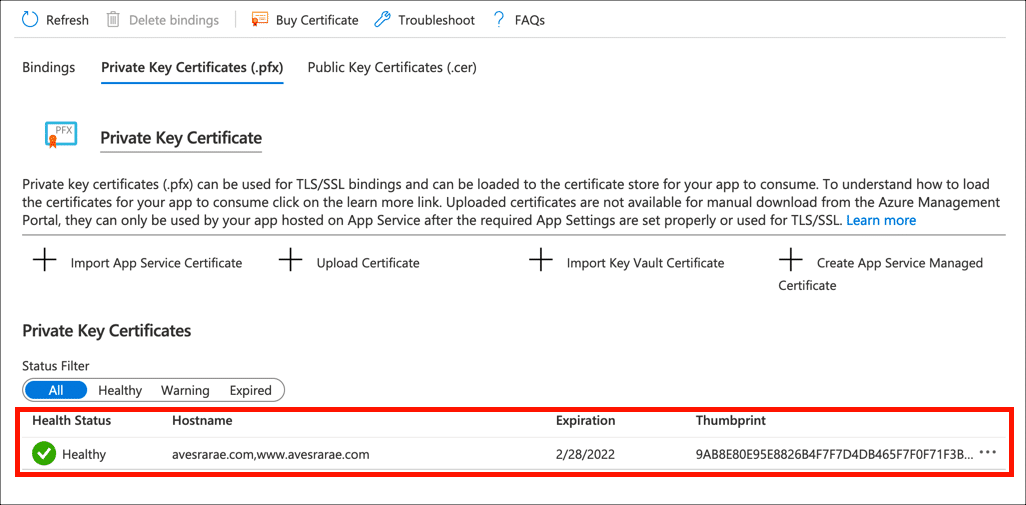
- Click Upload Certificate.
Click Upload Certificate to begin the certificate upload process.

- Upload certificate.
Click the folder () icon and navigate to your PKCS#12 file, enter the PKCS#12 file’s password, then click the Upload button.

- Verify successful upload.
You should see an alert message if your upload is successful, and your certificate will be shown in the Private Key Certificates list.
- Select Bindings tab.
Now you can bind the certificate to your custom domain name. Select the Bindings tab.

- Click Add TLS/SSL Binding.
Click Add TLS/SSL Binding to begin the process of binding your certificate to your web app’s domain name..

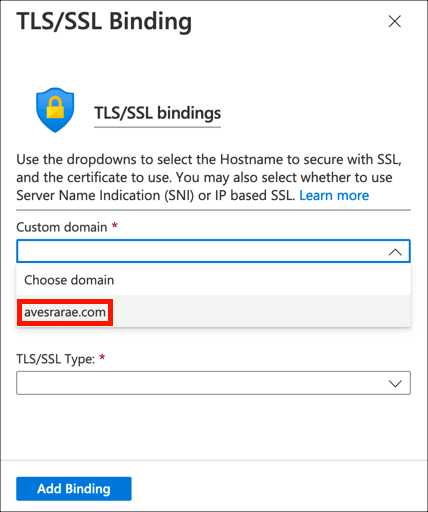
- Choose custom domain.
Choose the domain name your certificate will protect from the Custom domain drop-down menu.
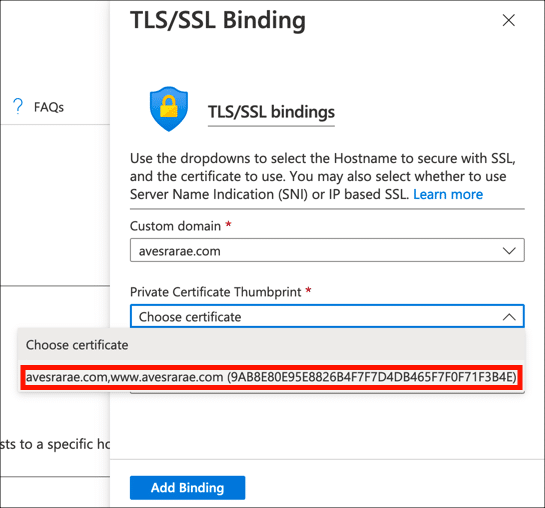
- Choose certificate.
Choose the certificate you just uploaded from the Private Certificate Thumbprint drop-down menu.
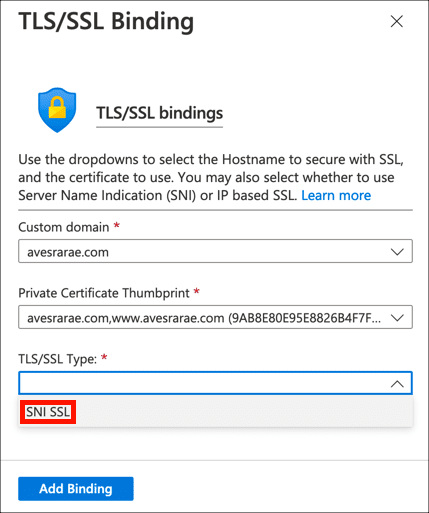
- Choose TLS/SSL type.
Select SNI SSL from the TLS/SSL Type drop-down menu.
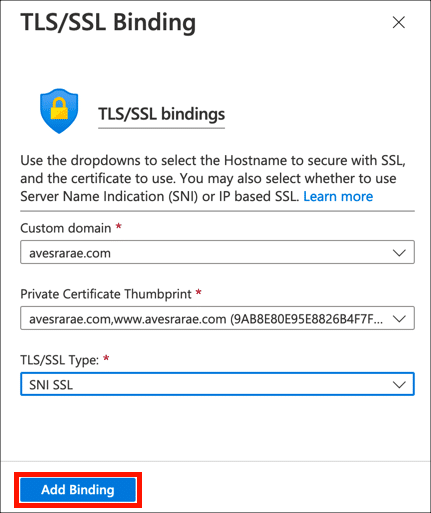
- Add binding.
Click the Add Binding button.
- Verify binding.
You should see an alert message if your binding is successful, and your certificate will be shown in the TLS/SSL Bindings list.
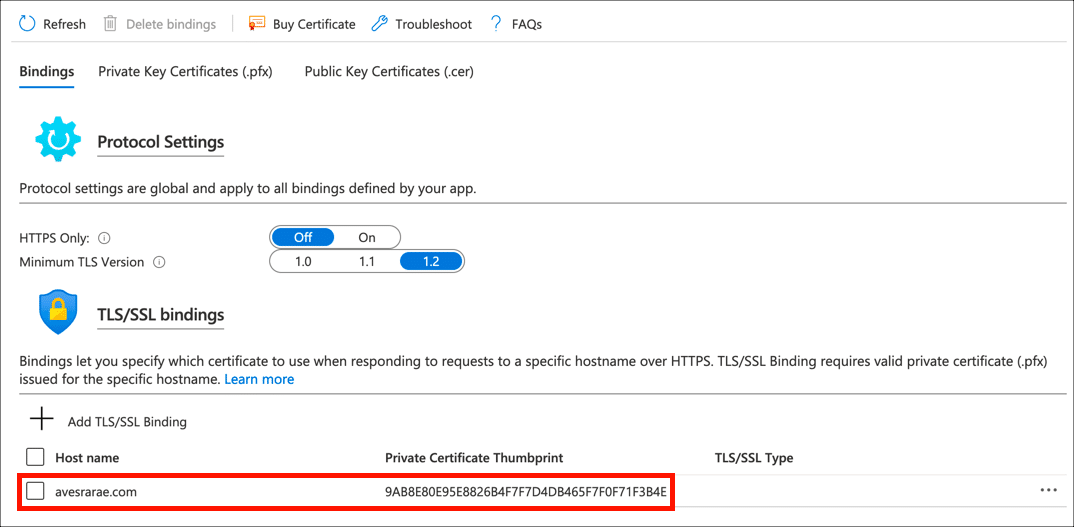
- Update protocol settings.
Now that your certificate is installed and bound to your domain name, you should make sure that your site is only served via HTTPS and a secure version of SSL/TLS. Under Protocol Settings, set HTTPS Only to
Onand Minimum TLS Version to1.2.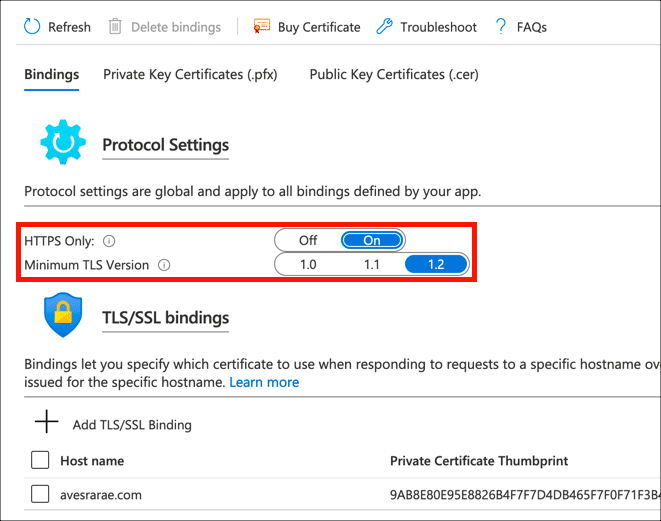
- Finished!
Your SSL/TLS certificate is now uploaded and bound to your web app.

SSL.com provides a wide variety of SSL/TLS server certificates for HTTPS websites, including: