eSigner is a browser-based app that makes it easy to add annotation-based signatures and digital signatures to documents, including PDFs and Microsoft Office files.
This guide walks you through creating your eSigner account and setting up two types of signatures: an annotation, which appears as a visible electronic signature but is currently only doable with PDFs; and a digital signature, which is doable with both PDFs and Microsoft Office files and whose details can be viewed and verified in software such as Adobe Acrobat Reader or Microsoft Word, Powerpoint, or Excel.
Additionally, the guide concludes by explaining four signing options to fit your needs: signing a PDF yourself with an Individual Validation (IV) or Organization Validation (OV) certificate from SSL.com; signing Microsoft Office files; inviting multiple people by email to sign a PDF; and signing a PDF yourself with the generic eSigner eSeal certifcate.
Create your eSigner Account
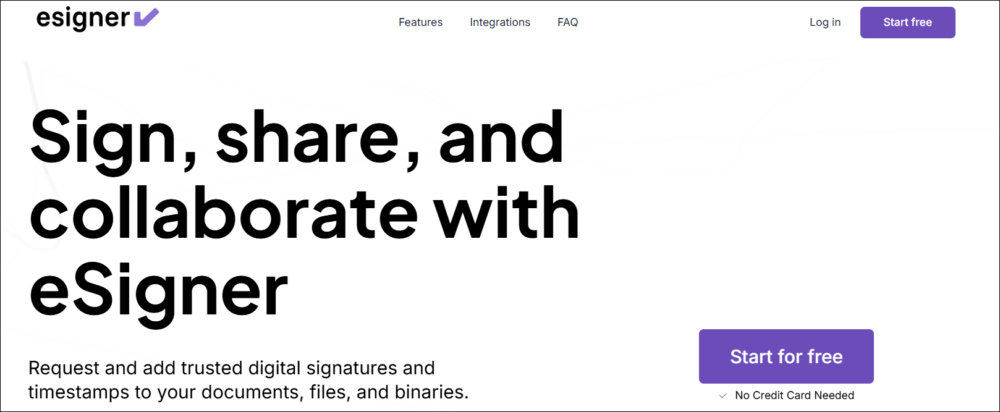
- Go to esigner.com and click any of the Start free buttons.
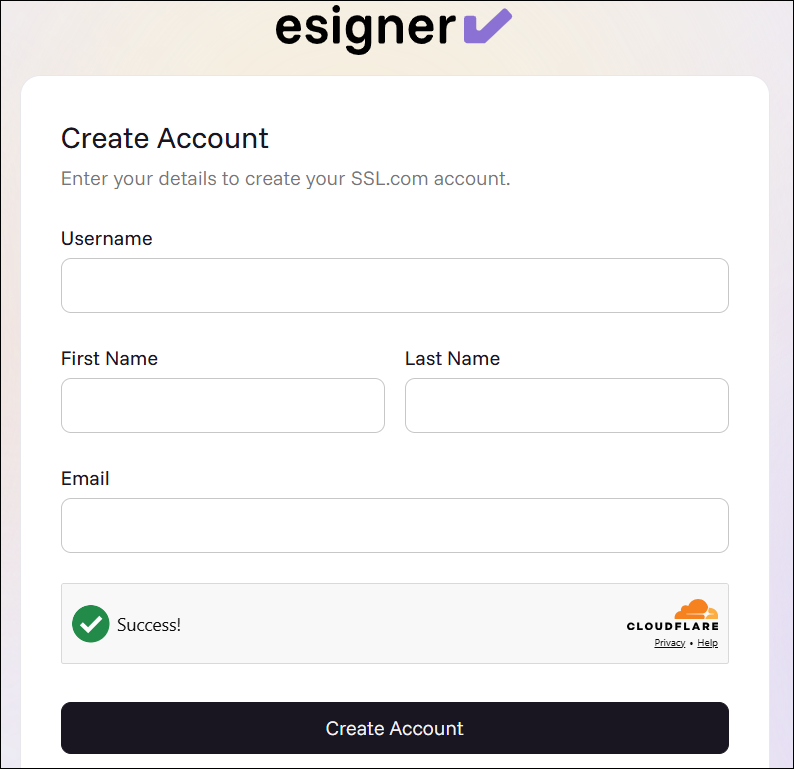
- Fill in all the required fields to create your SSL.com Account. These fields include username, First Name, Last Name, email address, and password. Take note of the requirements for an acceptable password. Once finalized, click the Create Account button to proceed.
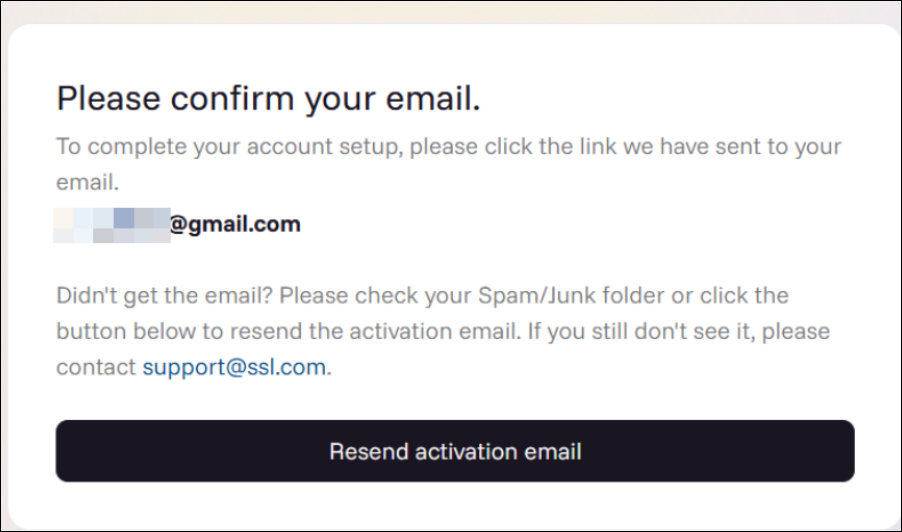
- Check the activation link sent to your email address. If you don’t see it, try another secure browser, or check your spam folder. If the activation link is still missing, click the Resend activation email button.
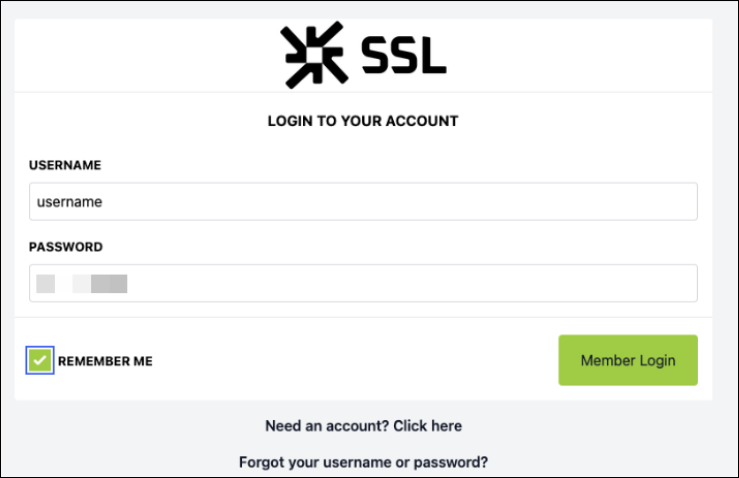
- A new login session will appear. Place your username and password. If you are using your private computer, check the box for REMEMBER ME for easier logins in the future. You should not, however, click REMEMBER ME on public computers (like at a library or school computer lab).
After placing your username and password, click the Member Login button to log into your account.
Create your eSigner Signature
Once you have an active eSigner account, the next task is to create a signature. This allows you to set an annotation which includes a First and Last name and a chosen signature style (typewritten, handwritten, or image-based).
Multiple options for your signature can be created and saved in your account. When signing a document later on, this allows you to choose which signature style you prefer to use.
- Click Signatures on the menu.
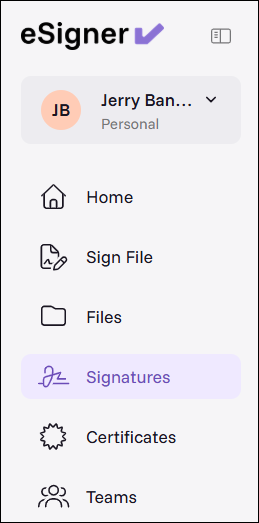
- Click New Signature.

- Select your choice for signature style.
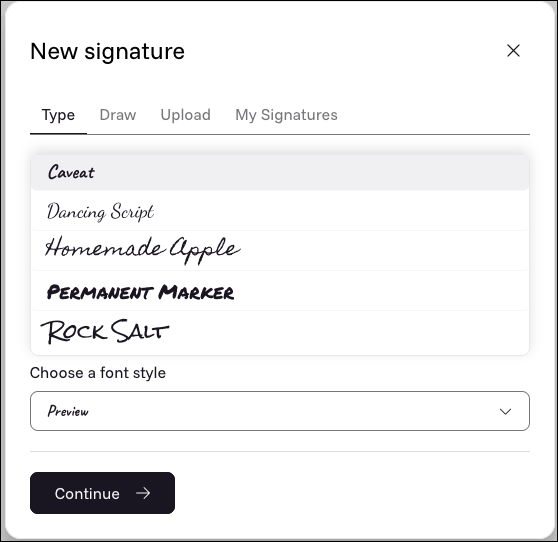
- Type
The Type option provides preset and typewritten signature templates bearing the First and Last name of the person. Pick the font style that you want and click Continue to confirm your choice.
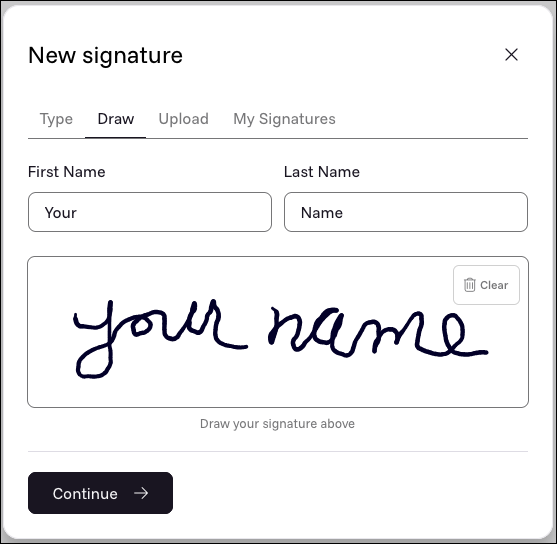
- Draw
The Draw option enables you to use your mouse to generate your customized signature. This option is good for users who wish to replicate their handwritten signatures on the eSigner app. Should you wish to replace the drawn signature, simply click the Clear button to start over.
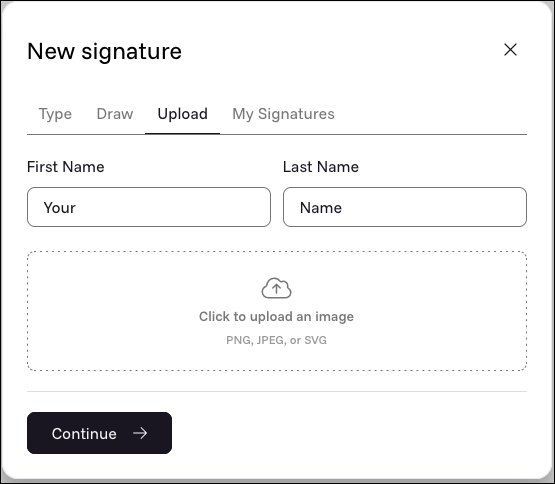
- Upload
The Upload option allows a user to use an image as their annotation. Click anywhere inside the image upload box to select and upload the image you want and then click the Continue button. Compatible image file types include PNG, JPEG, and SVG.
- Type
- All signing profiles you created will be saved in the My Signatures section. When signing a document later on, you will have the choice to use which signature style you want to apply.
Optional Step: Prepare your Document Signing Certificate for Digital Signing
This section applies only if you plan to digitally sign documents with an Individual Validation (IV) or Organization Validation (OV) certificate purchased from SSL.com. With either certificate, your name or your organization’s name appears as the signer in the digital signature details when the file is opened in Adobe Acrobat Reader or Microsoft Office apps.
Before you can use your certificate, you’ll need to enroll it in the eSigner cloud signing service. During enrollment, you’ll set up two-factor authentication using either an authenticator app or SMS, and eSigner will require a security code through that method each time you digitally sign a document. For step-by-step instructions, see Enroll with eSigner for Remote Document and Code Signing. After successful enrollment, your own certificate will appear as a clickable option for digital signing on the eSigner app.
Create a Folder
If multiple documents will be signed regularly using your eSigner account, it is advisable to use the folder tool to better organize your files. You can also create folders within folders for a more nuanced structure.
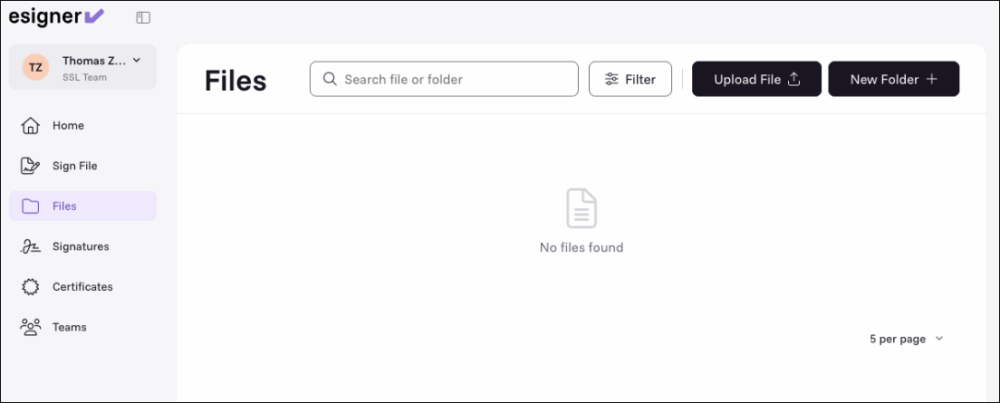
- Click Files on the menu followed by New Folder.
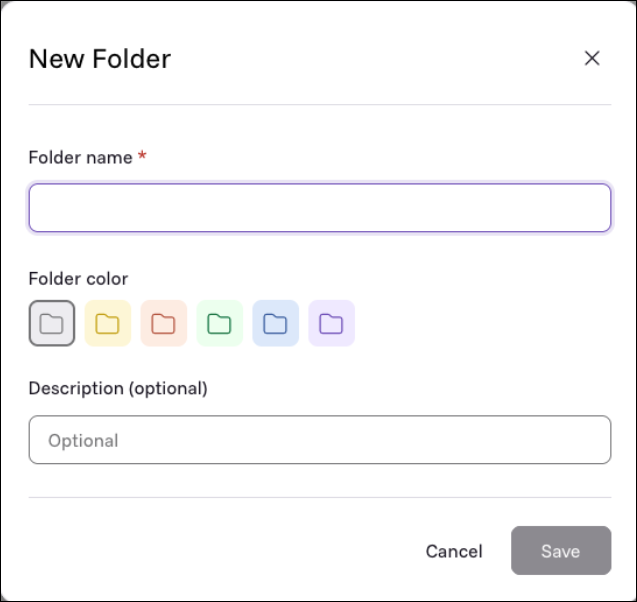
- Set a name for the folder and click the Save button.
Sign Your First Document
With your account set up and your signature profile ready, you can start signing your documents. Depending on your needs, there are four ways to sign with eSigner.
a) Add an Annotation and/or a Digital Signature to a PDF as a Single Signer
There are two ways to sign a PDF in eSigner. The first is a visible electronic signature, which you can type, draw, or upload as an image. The second combines that visible signature with a certificate-based digital signature. The digital signature is embedded in the PDF separately from the visible mark, and anyone can view its details and cryptographically verify the document’s authenticity in PDF software. You can use either type of SSL.com document signing certificate for this. An Individual Validation (IV) certificate shows the signer’s personal name in the digital signature details, and an Organization Validation (OV) shows the organization’s name.
b) Add a Digital Signature to Microsoft Office Files (Word, Powerpoint, Excel) as a Single Signer
Users can secure their Microsoft Office files with a digital signature. However, visible annotations are not currently supported for these file types. All types of document signing certificates that have Individual Validation or Organization Validation can be used, allowing either the name of a person or the organization to be identified as the signer in the digital signature details.
c) Create a Document Signing Workflow
Workflows lets you gather annotation-based electronic signatures from multiple people on a single PDF. As the workflow manager, you upload the file, place signature fields, and send email invitations to each signer. Recipients sign directly in their browser, with no complicated software to learn. This makes workflows well suited to contracts, agreements, invoices, statements of work, and other multi-party documents.
d) eSeal a PDF
eSigner eSeal is a generic certificate that can be used to apply a digital signature to a PDF. Every eSeal signature lists “eSigner eSeal” as the signer and SSL Corp as the issuing certificate authority (CA). These details can’t be changed to show your own name or organization. Even so, eSeal is a handy way to preview how certificate-based signatures look and validate in PDF software before you decide whether an IV or OV certificate fits your needs.