This how-to will walk you through the process of improving your website’s performance with SSL.com’s content delivery network (CDN).
Creating a CDN Resource
-
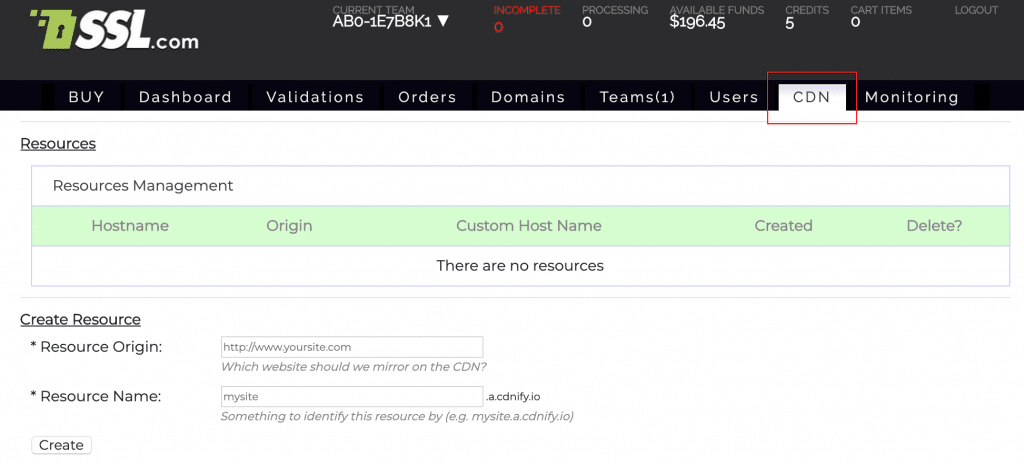
Log into your SSL.com account, then select the CDN tab.
-
Enter the URL of the website you wish to mirror in the Resource Origin field and give it an identifying name in the Resource Name field. The resource name you enter will be used as the hostname for the CDN resource (e.g. “mysite” will map to
mysite.a.cdnify.io). Then, click the Create button. -
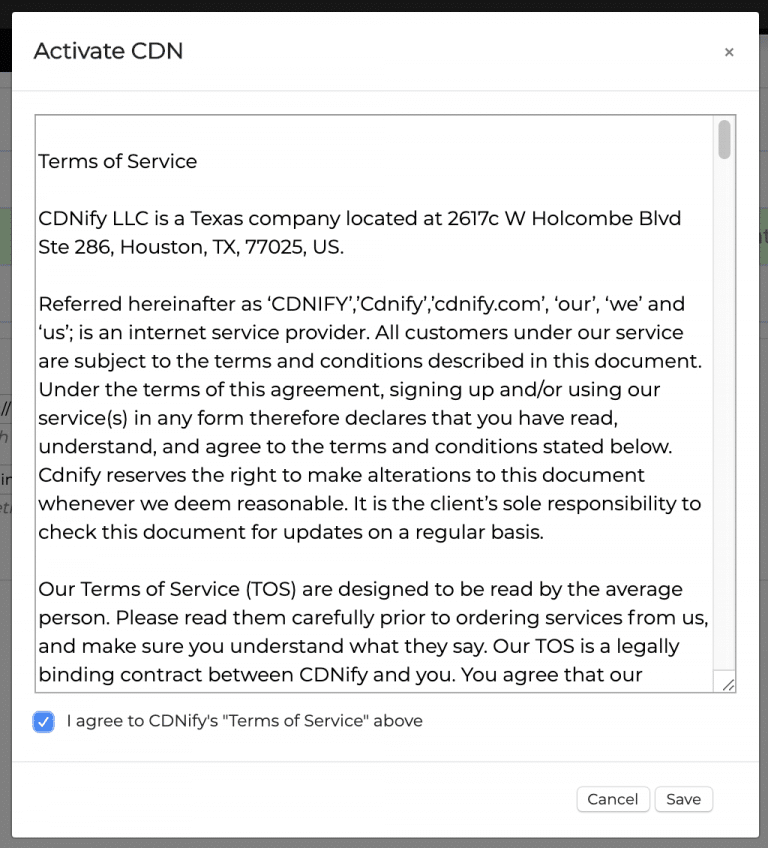
A dialog box containing the terms of service will appear. When you have reviewed the terms of service and understand and agree with them, check the box labeled I agree to CDNify’s “Terms of Service” above, then click the Save button. If you do not agree with the terms of service or otherwise wish to abort the operation, you can also click Cancel at this point.
-
If everything has been done correctly, the message, “Successfully Created Resource” should appear near the top of the window and your site will appear in the Resources Management list. You can view your resource’s CDN network activity and access its cache and settings by clicking the hostname in the list.
-
Working through the tabs from left to right, the Resources tab will simply return you to your list of resources. The Overview tab displays an overview of network activity at different locations. Because we just set up this new resource, there is no activity to display yet.
-
The Cache tab shows cached files and allows you to purge files from the cache and set the cache expiry time.
-
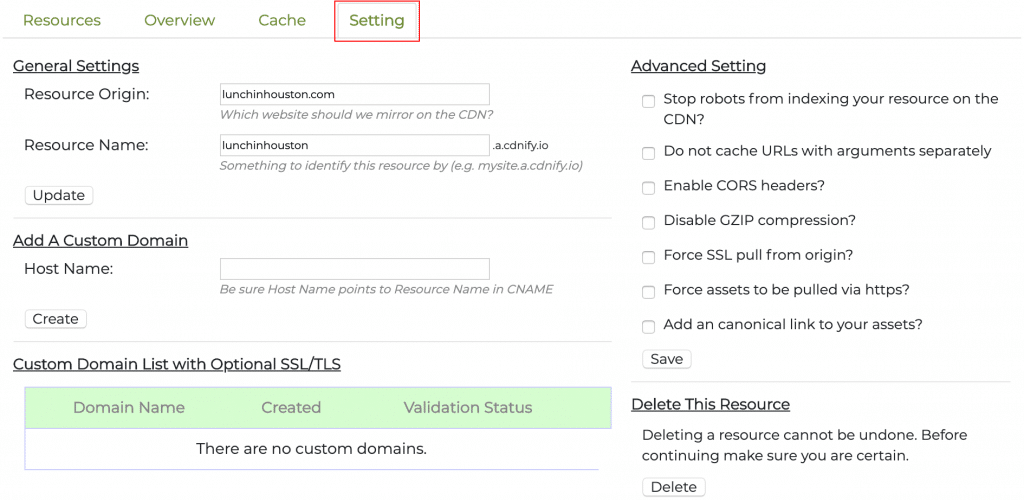
The Setting tab allows you to update the resource origin and name, add a custom hostname for the CDN resource (e.g.
cdn.mysite.com), or delete the resource. You can also set multiple advanced options via the checkboxes on the right side of the tab; for a complete overview of these settings and what they do, please refer to our portal documentation.
Add an SSL-Enabled Custom Domain to Your CDN
By creating a CNAME DNS record, you can add an SSL-enabled custom domain name to your CDN.
-
Create a CNAME DNS record that points from the custom name you want to use to the hostname shown in the Resources Management list (for example, pointing from
cdn.mysite.comtomysite.a.cdnify.io. Consult your web host for instructions on creating the CNAME record. -
In the Setting tab of the CDN resource in your account, enter your hostname in the Host Name field under Add a Custom Domain, then click the Create button.
-
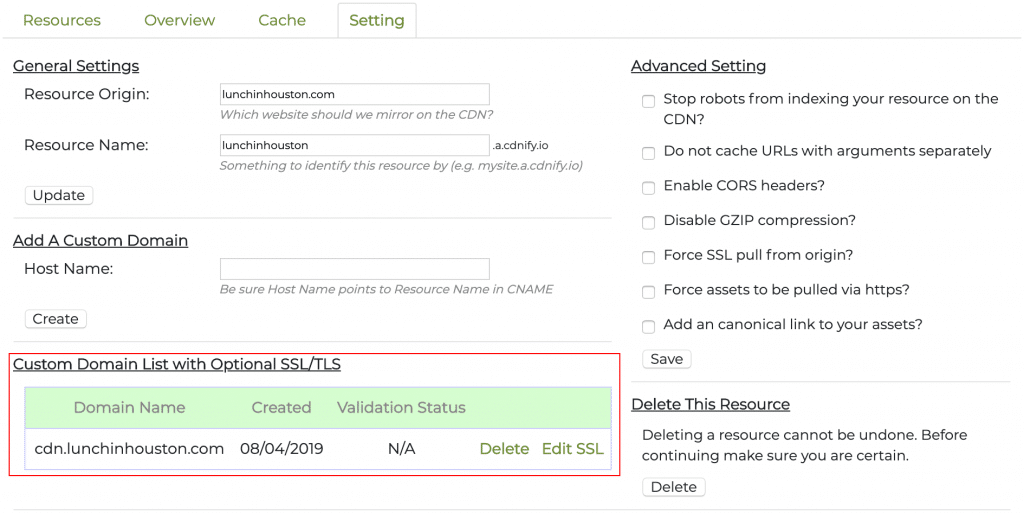
After being successfully added, your custom domain name will appear in the Custom Domain List.
-
To add SSL to your custom domain, click Edit SSL.
-
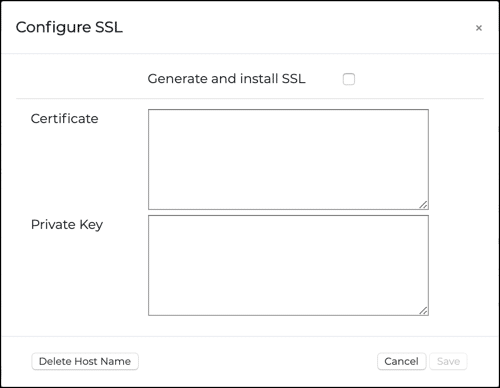
The Configure SSL dialog box will open, which has options for both automatic and manual SSL installation.
-
The Generate and install SSL checkbox is intended to automatically generate and install an SSL certificate for the custom domain name. Checking it will hide the manual SSL fields, as they are not needed.
Note: Automatic custom SSL is under development and is currently not working. For the present, please use the manual process detailed below in step 6. -
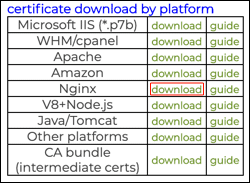
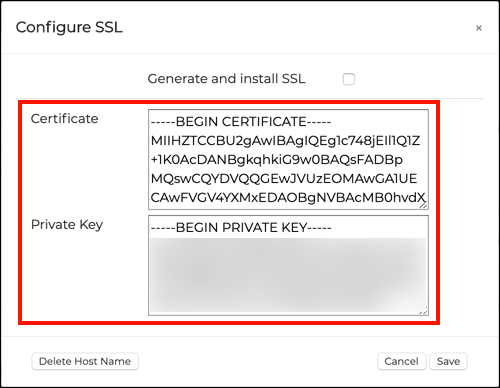
To manually configure SSL, paste a certificate and private key corresponding to the custom domain name in the Certificate and Private Key fields. Be sure to install the complete certificate chain when pasting the certificate. You can do this by choosing the Ngnix download option for the certificate in your user account:
Note: You should already have your private key, which was generated on your computer when you certificate signing request (CSR) was created. SSL.com does not possess your private keys and they are not available for download from your SSL.com user account.Note: If the Certificate and Private Key fields are not visible, please make sure that the Generate and install SSL checkbox is not enabled. -
When you are finished configuring SSL, Click the Save button. You can also click Cancel to cancel the operation, or Delete Host Name to immediately delete the custom domain name. After installation of a valid certificate, the Validation Status will be updated to show the presence of the certificate and its expiration date.
Using Your CDN with WordPress
In most modern content management systems, it is relatively simple to set up the backend of your website to work with your new CDN resource. This section will show you how to set WordPress up to work with your new CDN resource.
-
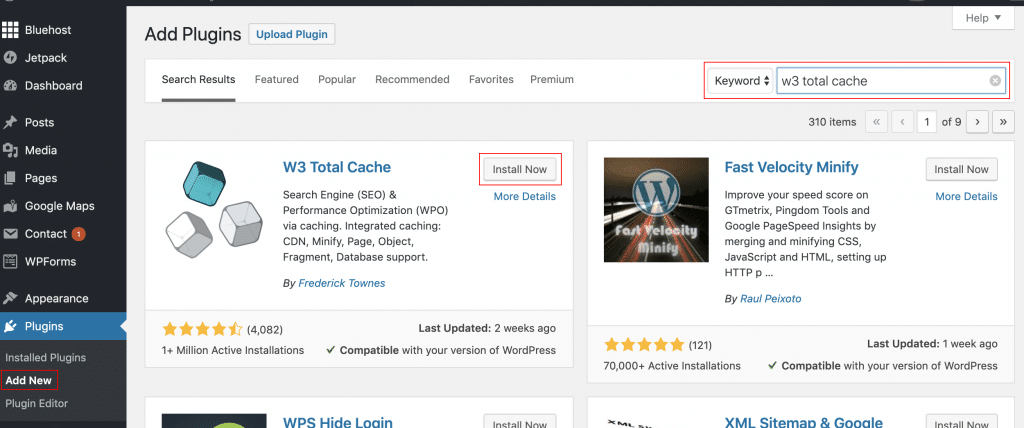
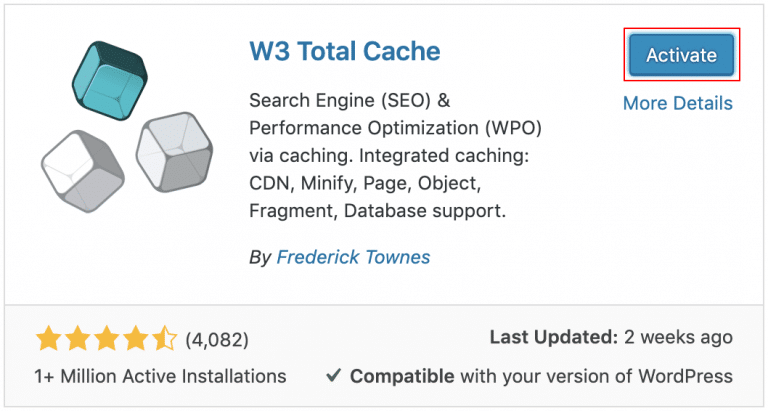
First, install the W3 Total Cache plugin via the WordPress dashboard. Click Plugins >> Add New in the left-hand sidebar menu, search for “W3 Total Cache,” then click the Install Now button.
-
When the plugin has been installed, the Install Now button will turn blue and change to Activate. Click the button.
-
A new menu item will appear on the left, labeled Performance. Navigate to Performance >> General Settings.
-
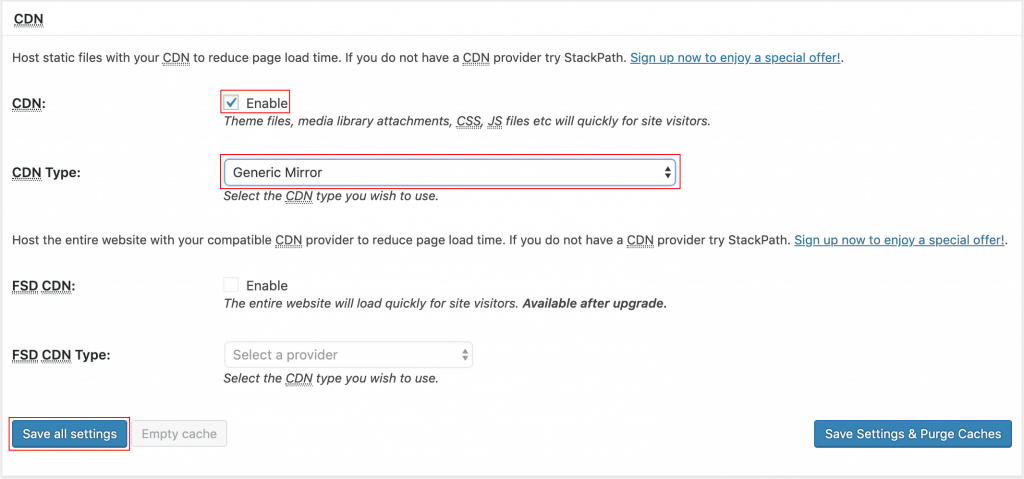
Scroll down to CDN on the general settings page. Check Enable on the line labeled CDN, then choose Generic Mirror from the CDN Type drop-down menu. When you are finished, click Save all settings.
-
Because the hostname has not yet been configured, an alert will appear at the top of the page, stating “A configuration issue prevents CDN from working: The “Replace default hostname with” field cannot be empty.” The next step will fix that problem.
-
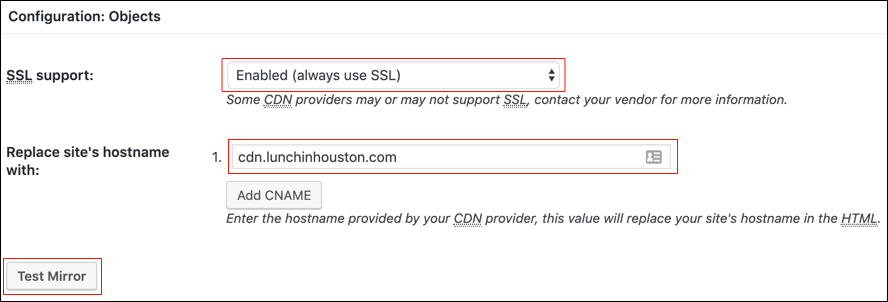
Navigate to Performance >> CDN in the left sidebar menu, then scroll down to Configuration: Objects. Next to SSL Support:, choose Enabled (always use SSL) from the drop-down menu. Then, add your CDN resource’s hostname (e.g. either
mysite.a.cdnify.ioor a custom domain name you have defined as shown above) and click the Test Mirror button. -
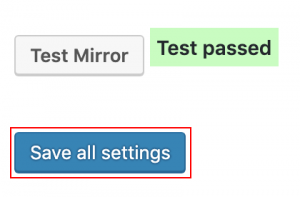
If everything has been set up correctly up to this point, a green box reading “Test Passed” will appear next to the Test Mirror button. Now click Save all settings.
-
Scroll back to the top of the page, and click the button labeled Modify attachment URLs.
-
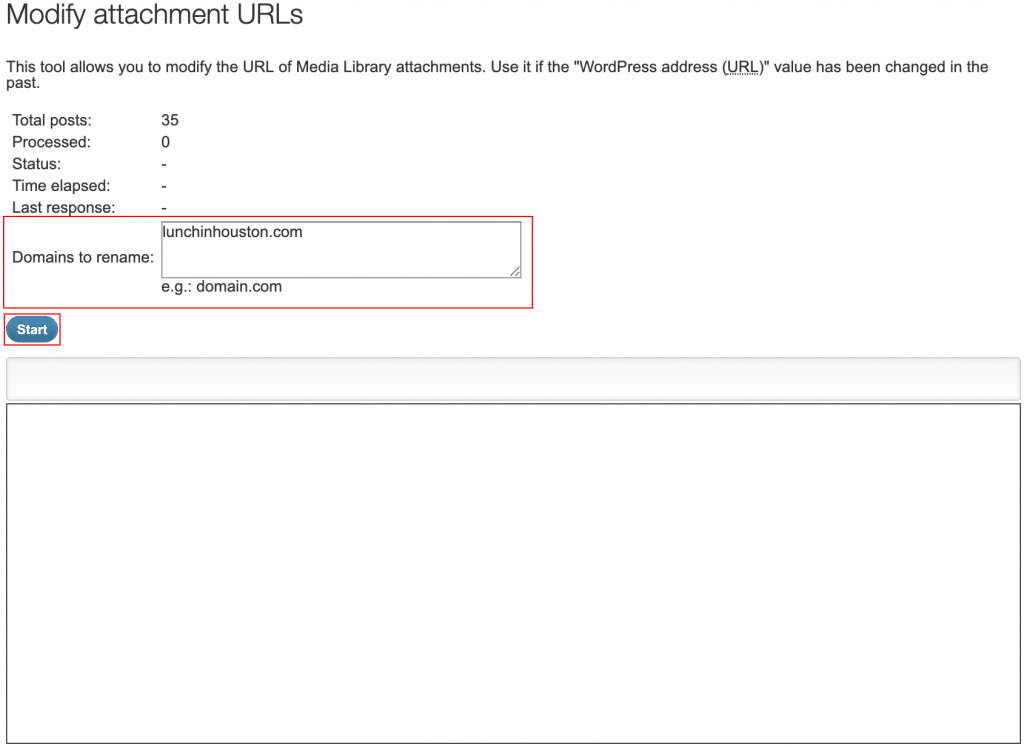
In the window that pops up, enter your top-level domain name (e.g.
mysite.com) and click Start. -
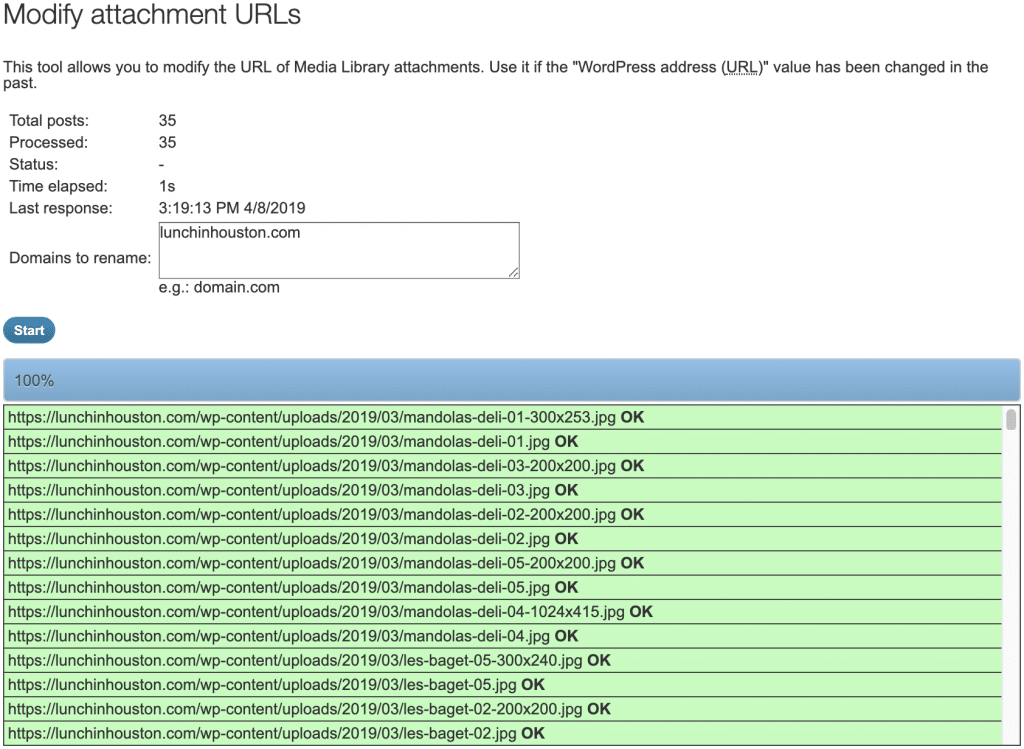
Changes should take place immediately, as reflected in the pane at the bottom of the pop-up window.
-
You can now verify that assets are being served by the CDN by viewing the source code of your website in a browser.


