This guide will walk you through the process of acquiring and installing the latest version of SSL.com’s SSL Manager into a modern Windows operating system.
Downloading SSL Manager
You can find the latest version of SSL Manager’s installer executable here.
Installing SSL Manager
When the download is complete, locate, unzip, and double-click the installer file (currently SSL-Manager-3.2-Installer-build-20220804.msi).
SSL-Manager-3.2-Installer-build-20220804 (2).zip”
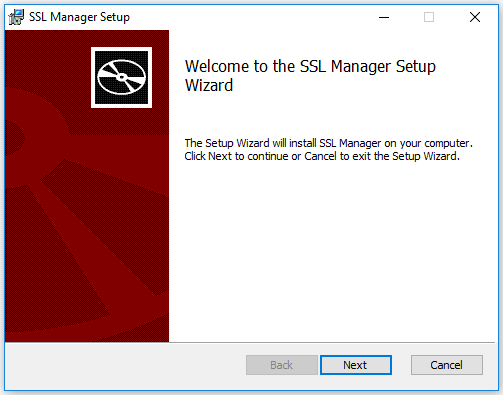
This will start the installation wizard and show a welcome message.
Click Next to acknowledge the welcome message.
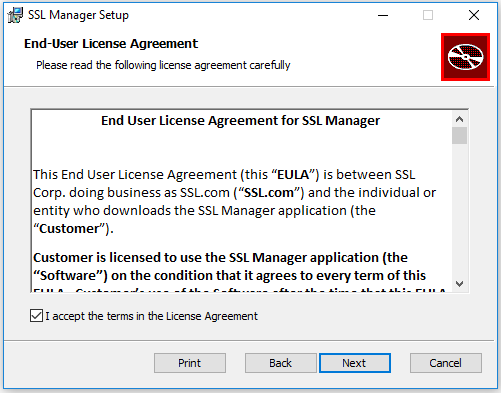
This window contains the EULA for SSL Manager. Read and accept it to enable the Next button.
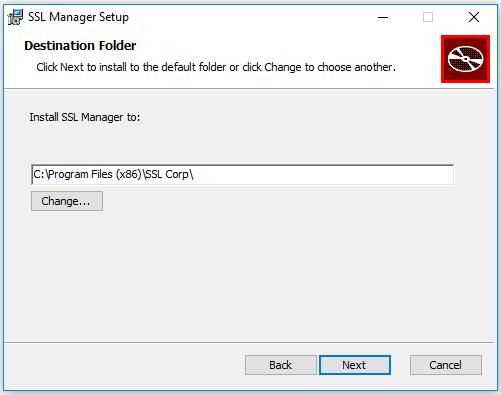
Click Next to select the installation directory.
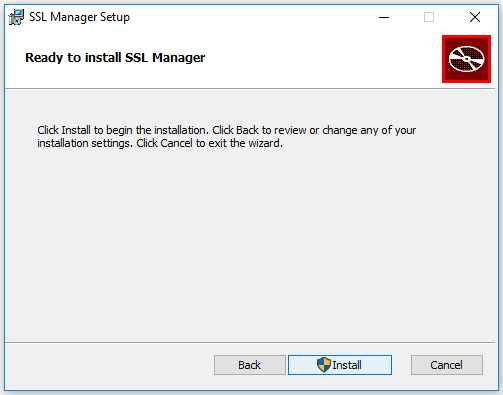
Click Next again to proceed, and Install to complete the process.
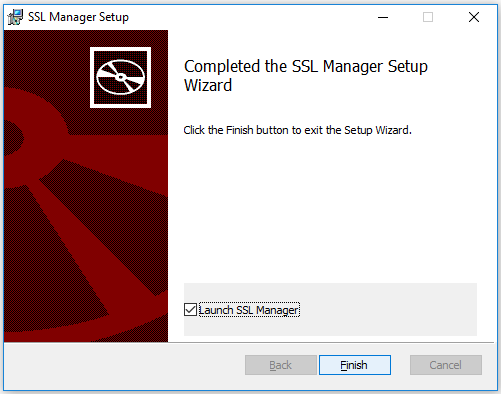
When the installation process is complete, click Finish to close the installer.
You may optionally check Launch SSL Manager to start the application after the installer is closed.
Alternatively, you can run SSL Manager via the Windows Start menu or the newly created desktop shortcut.
Keep in mind that you need an SSL.com customer account in order to use the full set of features SSL Manager has to offer. If you don’t have one, you can find instructions on how to register a new customer account here.
You can also find the project documentation with details on all the features and troubleshooting information here.
Optional: Permanently allow administrator access
SSL Manager requires administrator access to function. When you execute it without elevated privilege, it will ask Windows for this access and you will be prompted to permit it.
If you don’t want to repeat this (albeit simple) process, you can enable permanent administrator access via the desktop icon created upon installation.
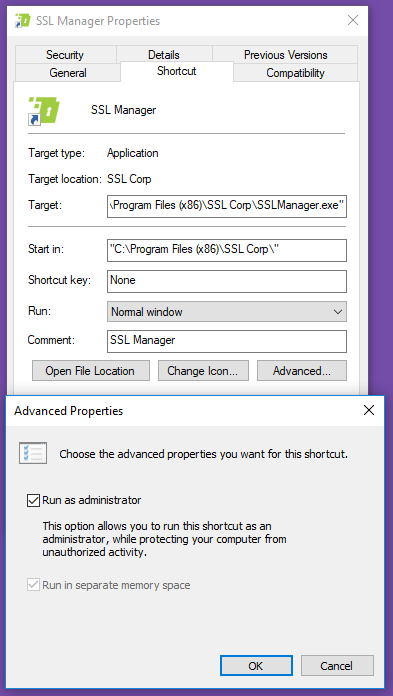
Right-click the desktop icon and select Properties from the menu. Switch to the Shortcut tab and click on Advanced. Check the box marked Run as Administrator, as shown in the image below.
Click the OK button to save this preference and OK, again, to close the Properties panel.
Your SSL Manager should now run as Administrator with no prompts.
Next Steps
For more details on how to bind your certificate using IIS 10, read here.


