This how-to will walk you through installing an SSL/TLS certificate in cPanel.
Before you install a certificate, you will first need to generate a certificate signing request (CSR) and submit it to SSL.com for validation and signing. Please refer to our how-to on CSR generation in cPanel and guide to submitting a CSR.
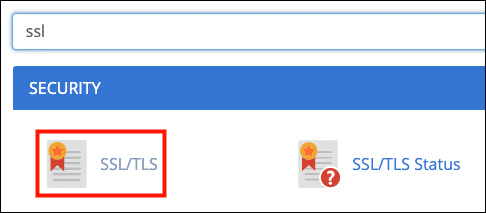
- Log into cPanel and open SSL/TLS.
Tip: Type “ssl” into cPanel’s Find field to narrow down what it displays.
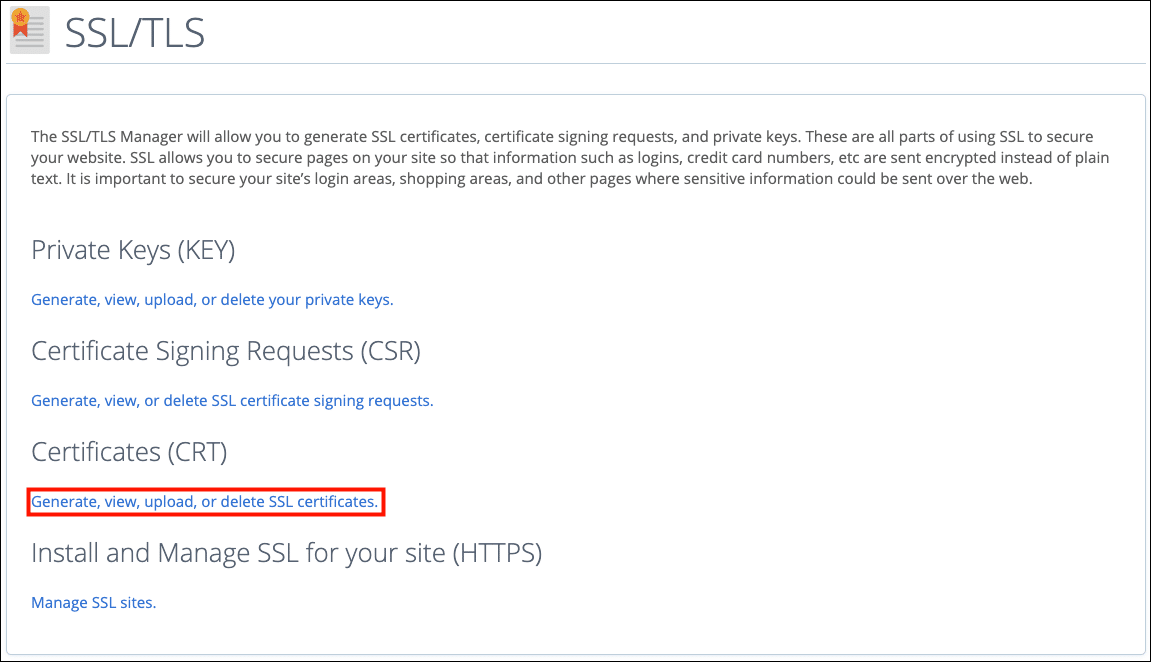
- If you generated the CSR using cPanel then, click Generate, view, upload, or delete SSL certificates. If you generated your CSR outside of cPanel (and you have the private key file) then you will need to click Generate, view, upload, or delete your private keys and upload your private key before uploading your certificate.
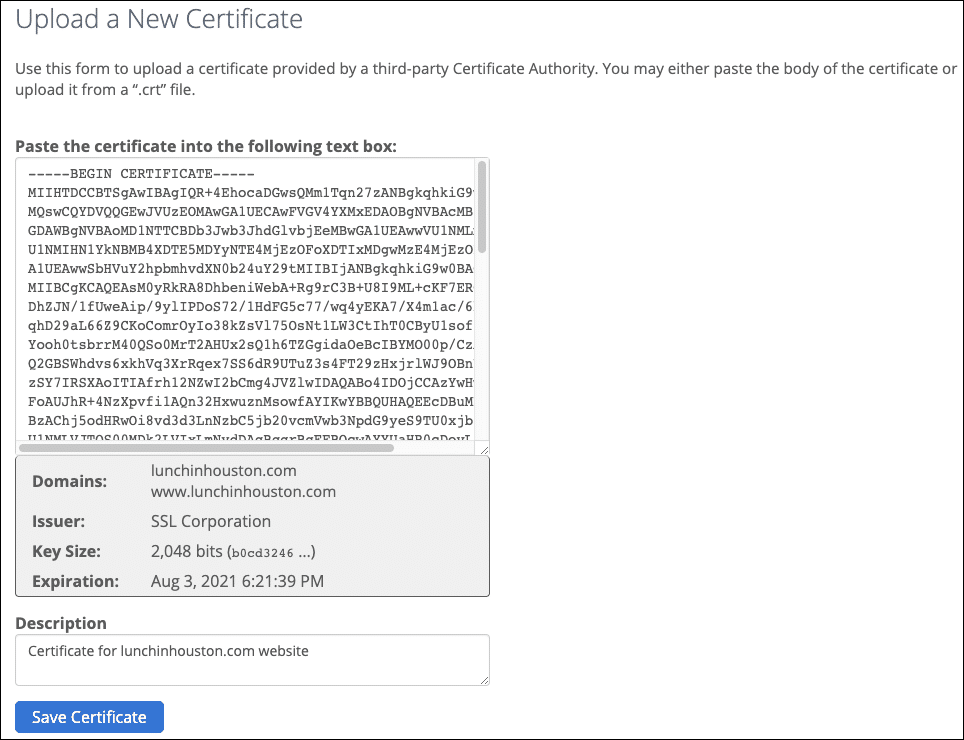
- On the SSL Certificates page, scroll past any installed certificates to the section titled Upload a New Certificate. You have two options for uploading your certificate:
- Option 1: Paste the file contents of your SSL certificate into the field labeled “Paste the certificate into the following text box,” enter a description, and click the Save Certificate button. Be sure to include the
-----BEGIN CERTIFICATE-----
and
-----END CERTIFICATE-----
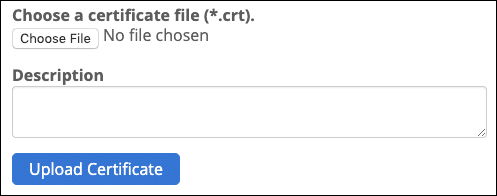
lines when copying and pasting your certificate. - Option 2: Click the Choose File button, browse to your unzipped certificate bundle, and select your certificate file (it will begin with your domain name and have the file extension
.crt), enter a description, and click the Upload Certificate button.
- Option 1: Paste the file contents of your SSL certificate into the field labeled “Paste the certificate into the following text box,” enter a description, and click the Save Certificate button. Be sure to include the
- Next, you will have to install the certificate. Scroll up the page to the Certificates on Server section and locate the certificate you just uploaded, then click the Install button.
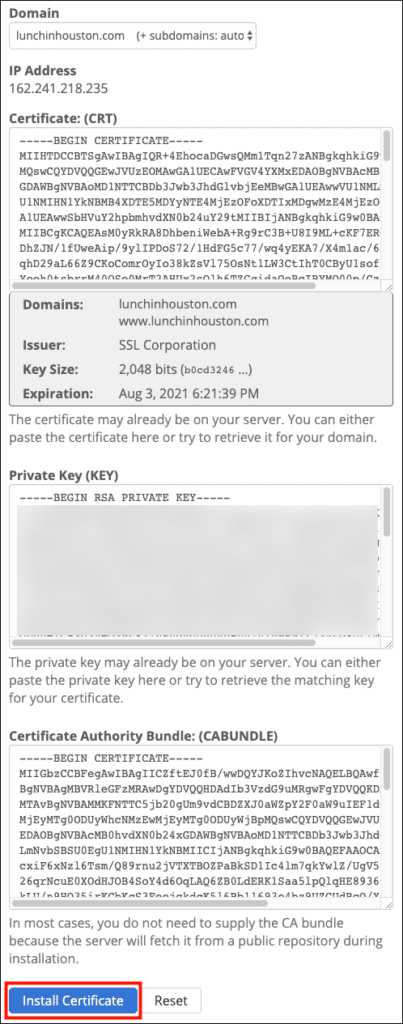
- Certificate (CRT) and Private Key (KEY) fields are populated. Open the file named
ca-bundle-client.crtfrom your unzipped certificate bundle in a text editor and paste the contents into the Certificate Authority Bundle (CABUNDLE) overwriting any existing information in the field.Be sure to include theReplacing information in the CABUNDLE is very important because this allows the server to provide the correct chain and be trusted on all browsers.
-----BEGIN CERTIFICATE-----
and
-----END CERTIFICATE-----
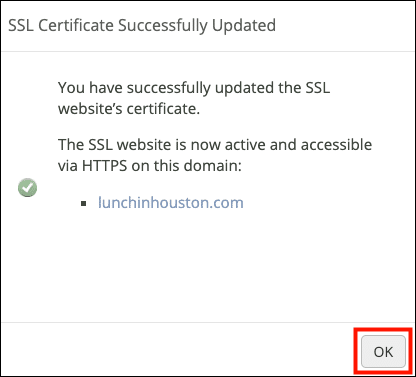
lines at the beginning and end. When you are finished, click the Install Certificate button. - A dialog box will appear indicating that the certificate has been installed. Click OK to dismiss the dialog.
This video shows certificate installation in cPanel, including retrieving the CSR for submission to SSL.com. It is for the older x3 theme, but the steps are similar:
Thank you for choosing SSL.com! If you have any questions, please contact us by email at Support@SSL.com, call 1-877-SSL-SECURE, or just click the chat link at the bottom right of this page.


