This how-to will walk you through generating a certificate signing request (CSR) and installing an SSL/TLS certificate on Salesforce Classic or Lightning Experience.
Generate Certificate Signing Request (CSR) in Salesforce
- Go to the Salesforce Setup menu, then enter “certificate” and “key management” in the Quick Find/Search field.
- Select Certificate and Key Management.
- Select Create a CA-Signed Certificate.
- Enter a descriptive label for your certificate.
- Enter a unique name for the certificate, or accept the pre-populated one. The unique name must:
- Contain only underscores and alphanumeric characters
- Be unique in your organization
- Begin with a letter
- Not include spaces
- Not end with an underscore
- Not contain two consecutive underscores
- Select a key size or 2048 or 4096 bits. The default is 2048.
- Enter the following information to be included in your CSR. Note that only the Common Name field is required by SSL.com when submitting your CSR.
- Common Name: The Fully Qualified Domain Name (FQDN) this certificate will protect (required)
- Email Address: An email address to be associated with the certificate (optional)
- Company: Your company or organization (optional)
- Department: The departmental or divisional name for your company or organization (optional)
- City: The city where your company or organization is located (optional)
- State: The state or province where your company or organization is located (optional)
- Country Code: The two-character abbreviation for your country (optional)
- Click Save. A cryptographic key pair and CSR will be generated and saved.
- Find your certificate in the certificates list, and click Download Certificate Signing Request. The filename will end with
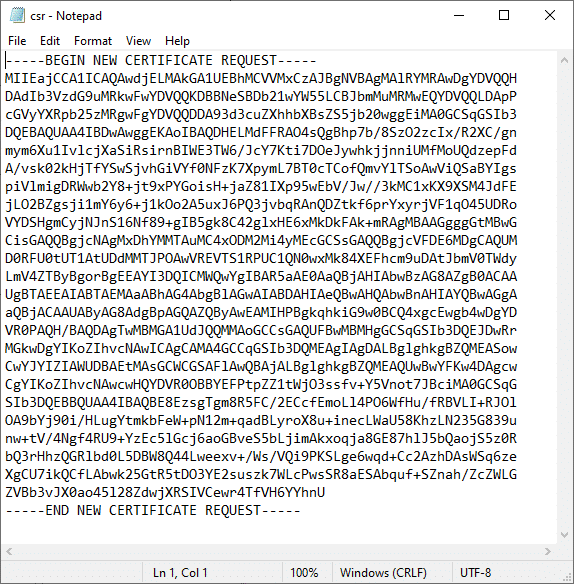
.csr. - Open the CSR in a text editor when you are ready to submit it to SSL.com for signing. CSR submission is included in SSL.com’s how-to, Ordering and Retrieving SSL/TLS Certificates.
Install SSL/TLS Certificate in Salesforce
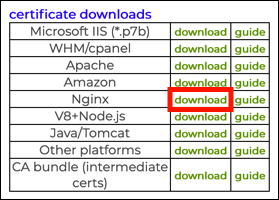
- Download your certificate from SSL.com. Choose the download link for Nginx. The downloaded file should end with
.chained.crt. - Go to the Salesforce Setup menu, then enter “certificate” and “key management” in the Quick Find/Search field.
- Select Certificate and Key Management.
- Find your certificate in the list, click the name of the certificate, then click Upload Signed Certificate and select the certificate file you downloaded in step 1, above.
- Click Save. The status of the certificate will be changed to Active.
SSL.com provides a wide variety of SSL/TLS server certificates for HTTPS websites.


