These instructions are for users of SSL.com’s document signing and client authentication certificates installed on FIPS 140-2 validated security key USB token. To protect our customers’ information against the possible loss of their YubiKey, these certificates offer email signing but cannot be used for encryption or decryption. However, your certificate bundle includes a credit for a decryption-enabled S/MIME certificate that may be installed in your YubiKey for convenience.
The instructions illustrate how you can easily generate and import a PFX file with an encryption-enabled S/MIME certificate and private key into the Key Management slot (9d) of your YubiKey with the YubiKey Manager application. These procedures were documented on macOS Mojave but are also applicable to the Windows and Linux versions of YubiKey Manager.
Step 1: Generate and Download S/MIME Certificate and Private Key
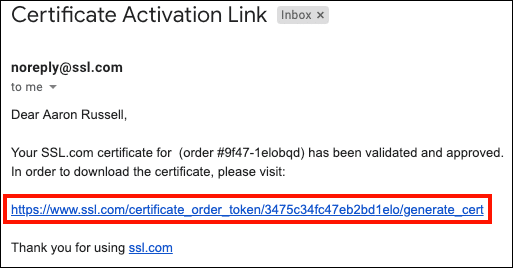
- Your certificate bundle includes an additional credit for an SSL.com S/MIME certificate. After ordering and validation, you will receive an email message with an activation link. Click the link.
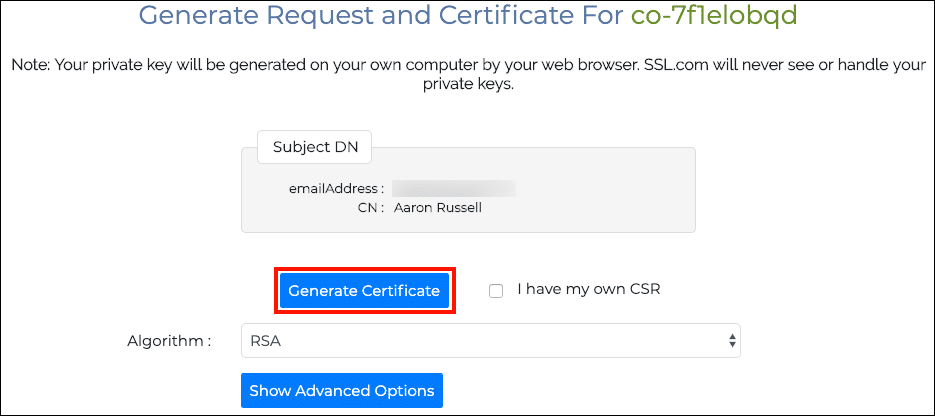
- Click the Generate Certificate button to generate a new certificate signing request (CSR), certificate, and private key.Note: You can choose between RSA and ECDSA with the Algorithm drop-down menu, but ECDSA cannot be used as an email encryption key, so it’s best to leave this set to RSA. You can also click the Show Advanced Options button, which will reveal a drop-down menu for choosing the key size. Finally, checking I have my own CSR will let you use your own certificate signing request and private key rather than generating a new CSR and key.
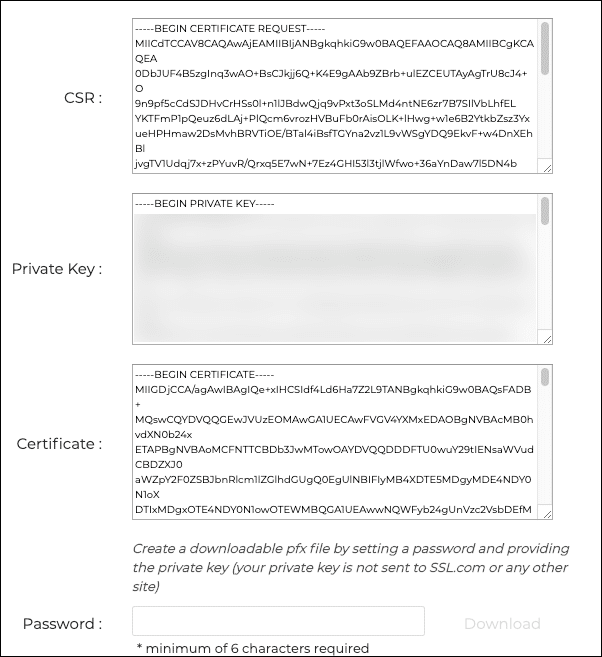
- Text fields containing the new CSR, certificate, and private key will appear.
- Create a password of 6 characters or more, then click the Download button.Remember this password. You will need it when you install the certificate and key on your YubiKey. Also, it is very important that you keep the PFX file with your private key secure and do not lose it. SSL.com does not ever see or handle your private keys and cannot help you recover a lost key (it will be generated in your browser, on your own computer). Without your private key you will not be able to digitally sign email or read email that has been encrypted with your public key. Even worse, anyone with your private key will be able to assume your identity for signing email messages and client authentication.
- Your new certificate and private key are now ready for installation on your YubiKey.
Step 2: Import Certificate and Private Key into YubiKey
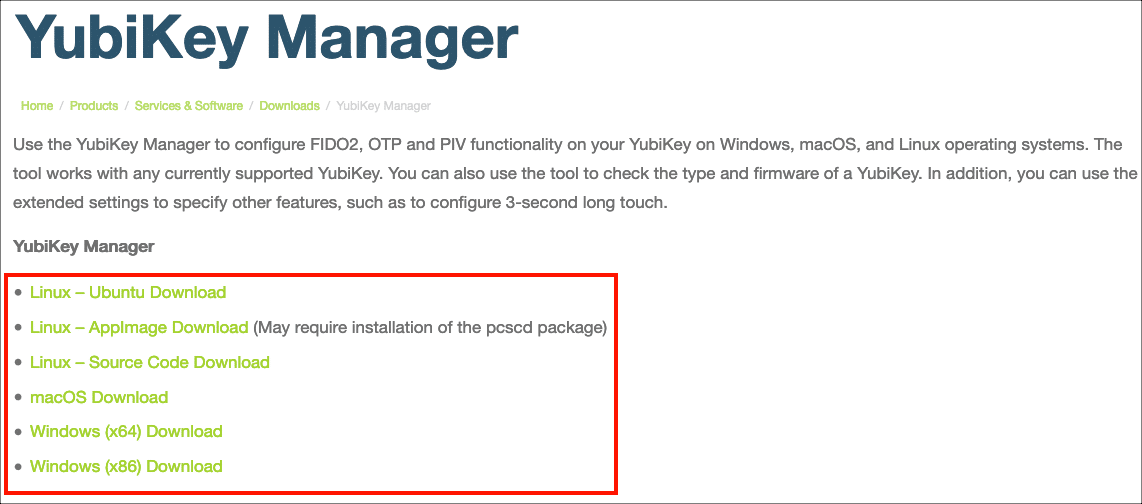
- Download and install the correct version of Yubikey Manager for your OS (Windows, macOS, or Linux).Note: YubiKey Manager can also be used to reset the PIN for your Yubikey and configure its OTP features. Please consult Yubico’s documentation for more information.
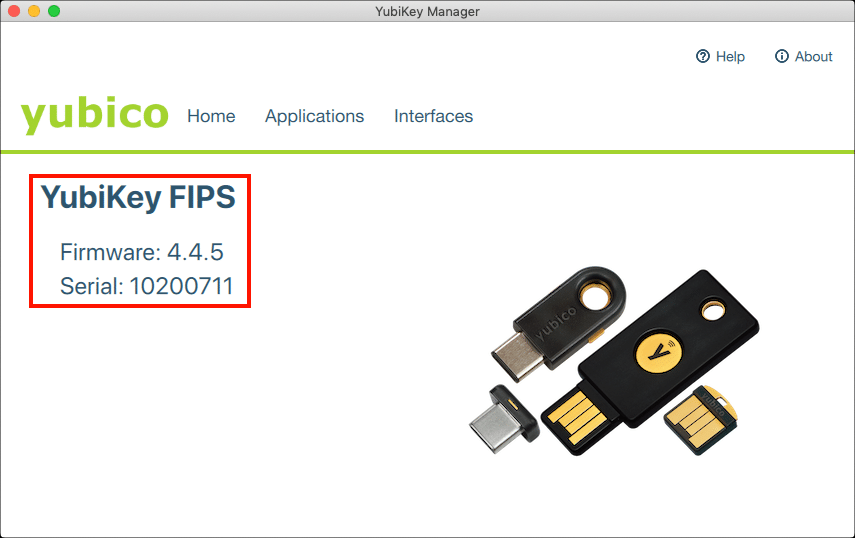
- Launch YubiKey Manager and insert your YubiKey into a USB port on your computer. YubiKey Manager will display information about your YubiKey.
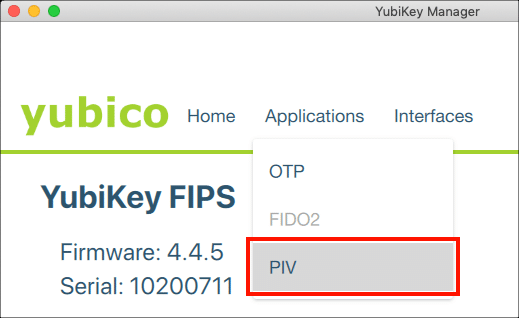
- Navigate to Applications > PIV in YubiKey Manager.
- Click the Configure Certificates button.
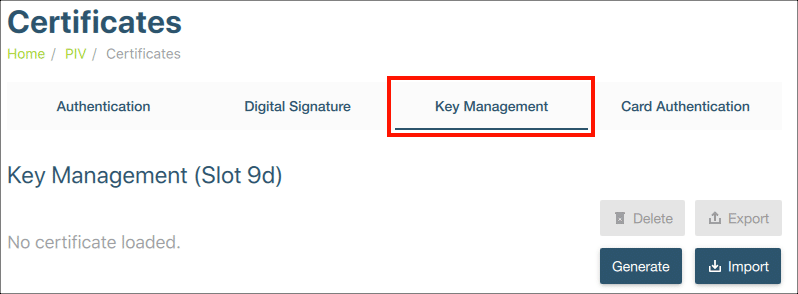
- Select the Key Management tab.
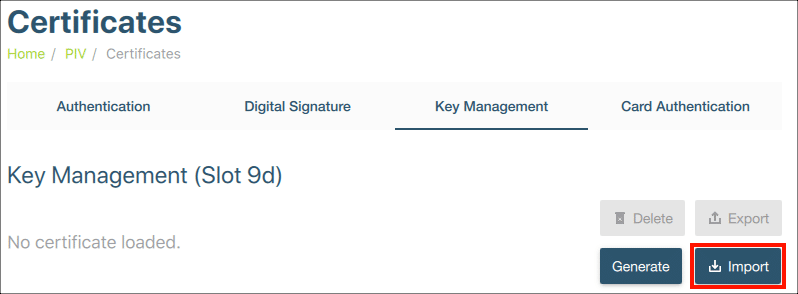
- Click the Import button.
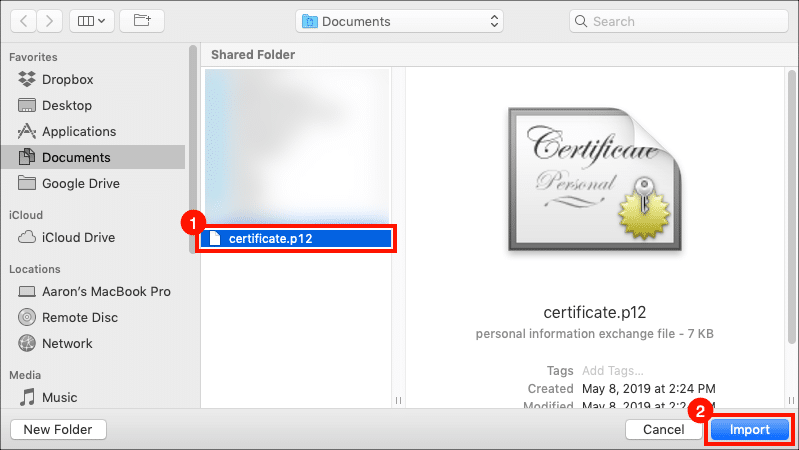
- Navigate to the location of your PFX file and click the Import button. The filename will end in
.p12. - Enter the password you created for the PFX file and click OK.
- Enter the YubiKey management key and click OK. (Contact Support@SSL.com for your management key.)
- You’re all done! YubiKey Manager should now show that the certificate and key are installed on the device.


